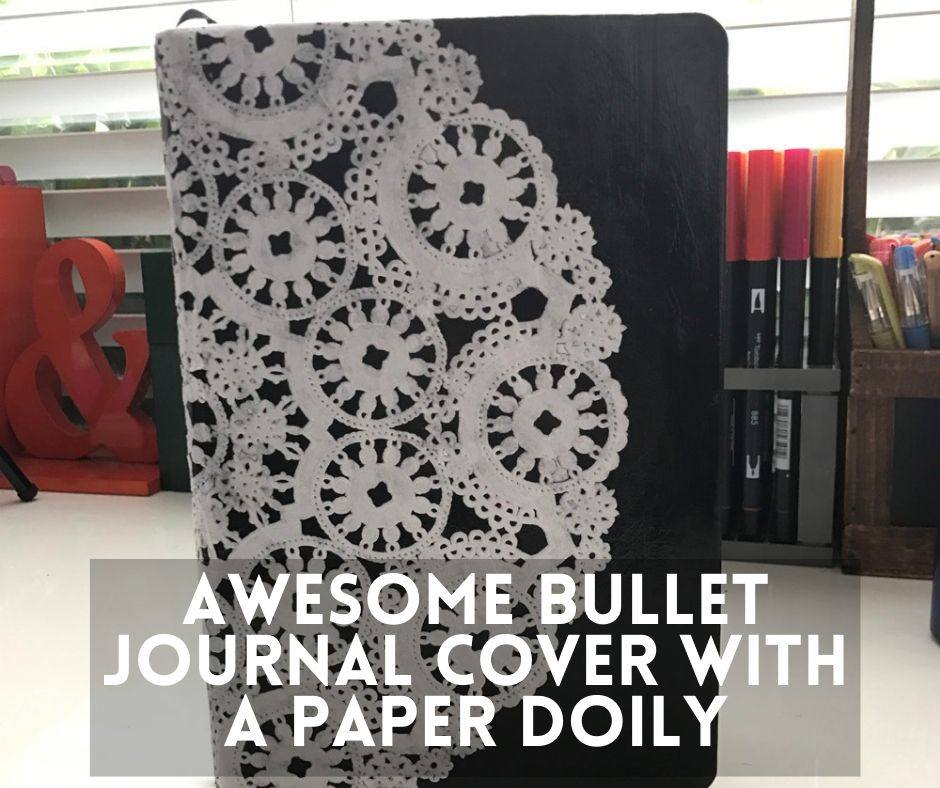
Make a Book Cover from Duck Tape
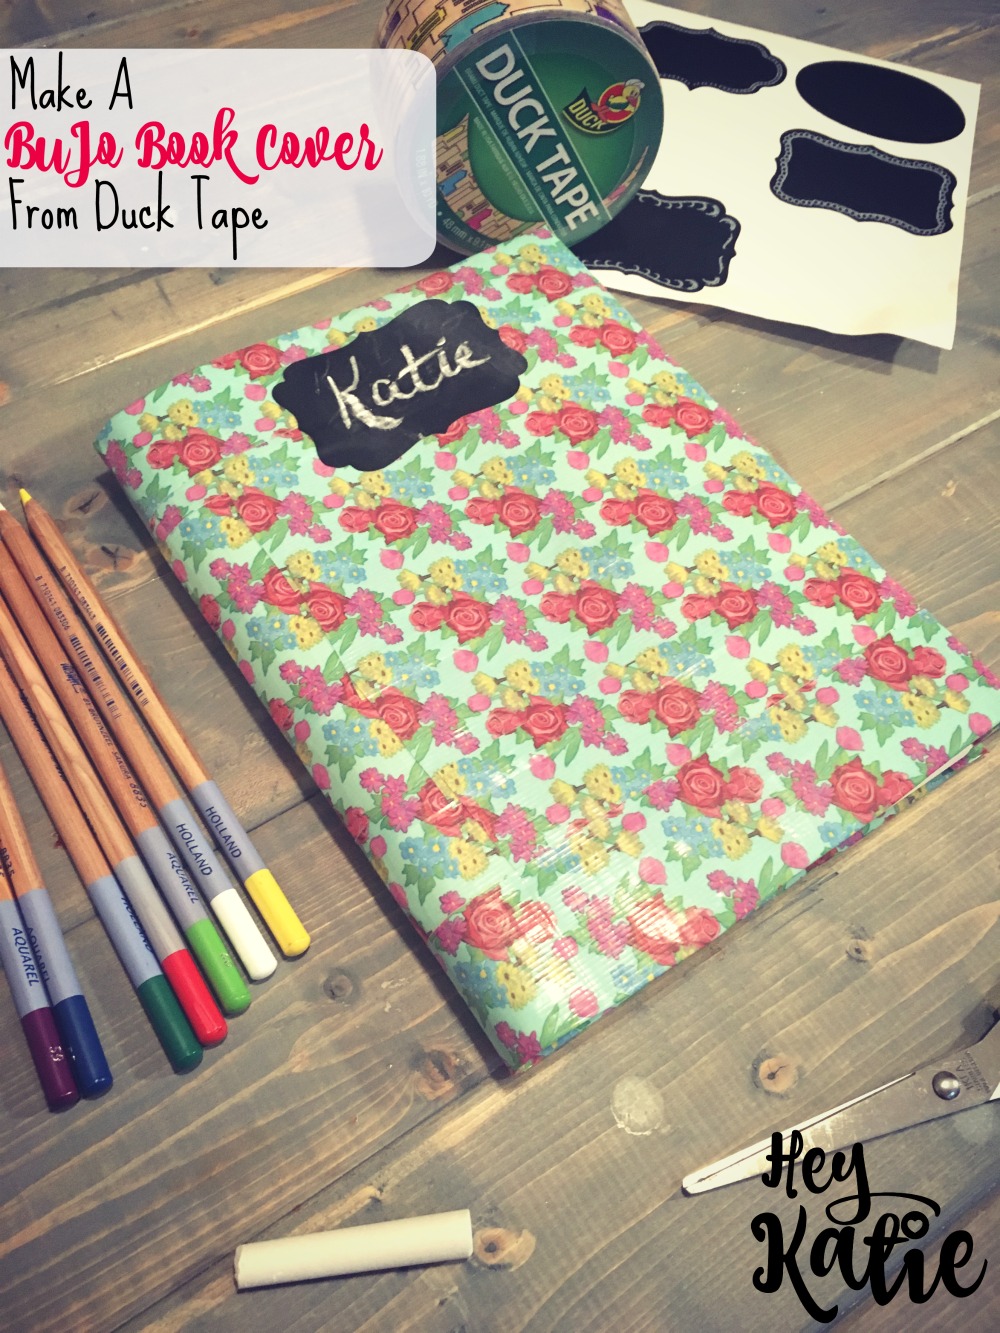
So I recently saw a TON of my favorite instagrammers touting the virtues of the Nuuna notebooks. It was said that the paper was thicker and more luxurious than the Leuchtturm 1917, with really awesome soft covers with cute designs. I knew right away I needed to get one. So I ordered up the ONLY one in stock, which happened to have a giant neon-orange YES/NO design. I’ll be honest – I wasn’t thrilled.
The notebook itself was all I hoped for (more on that in another post!), but the cover was just WAY too vibrant for me. It didn’t really fit my aesthetic, and I knew I wouldn’t use it if I didn’t like looking at it. So after brainstorming a while, I came up with a super awesome idea to create a cover for it! And for me, when it’s time to craft something, I of course took a video of the process. So if you want to get the general idea, take a look at today’s VEDA vlog:
But I know that there will be some who want to see instructions so they can make their own. So here’s what you’ll need. Bear in mind, I was winging it when I made it, but you may want to be more precise and take some measurements so you can get the best results. I know next time I’ll totally be doing that.
Supplies:
10 yd patterned Duck Tape
scissors
2 sheets of printer paper (optional)
bullet journal of your choice
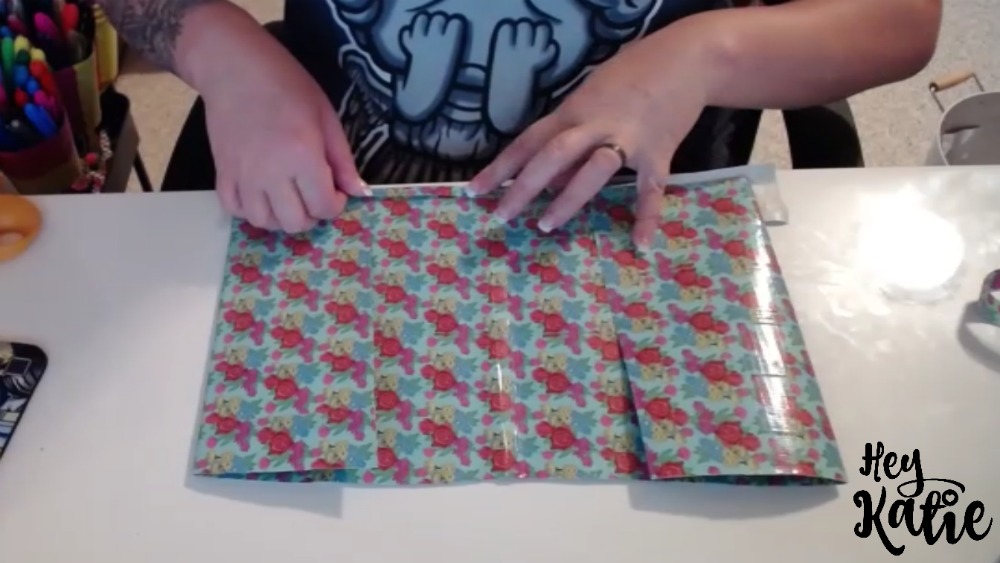
To begin, I began laying down my Duck Tape in rows so that I could create a large sheet of “fabric.” I made it large enough to cover one sheet of printer paper with extra hanging over.
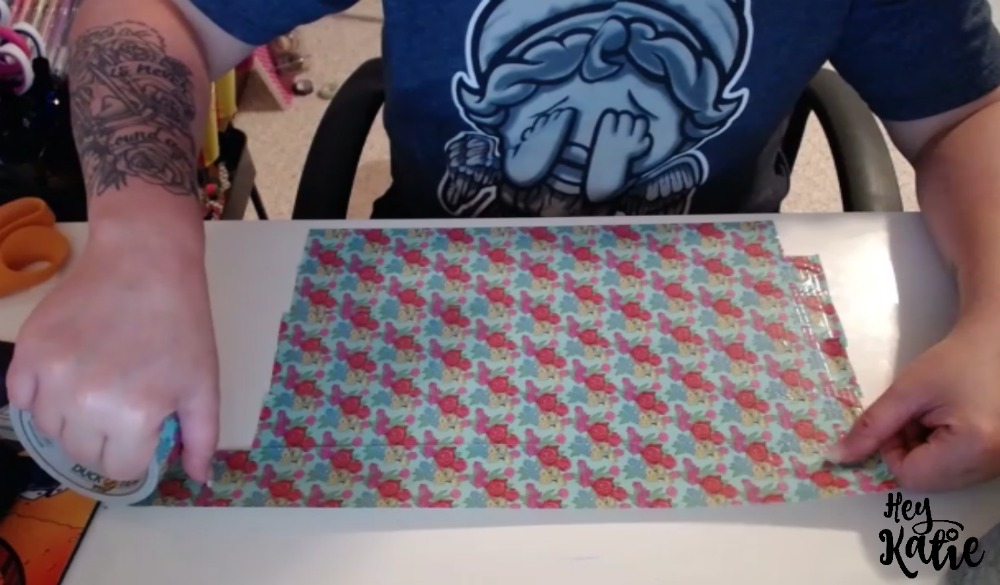
I made sure to choose a tape pattern with a definite repetition so that when I overlapped, I could match the pattern up. This flower one was slightly difficult, but it worked out well. Next, I flipped the entire piece of fabric over so the sticky side was up. I laid down one sheet of paper close to one edge, and then I laid the second sheet down, end to end, so that I had my full width that I wanted.
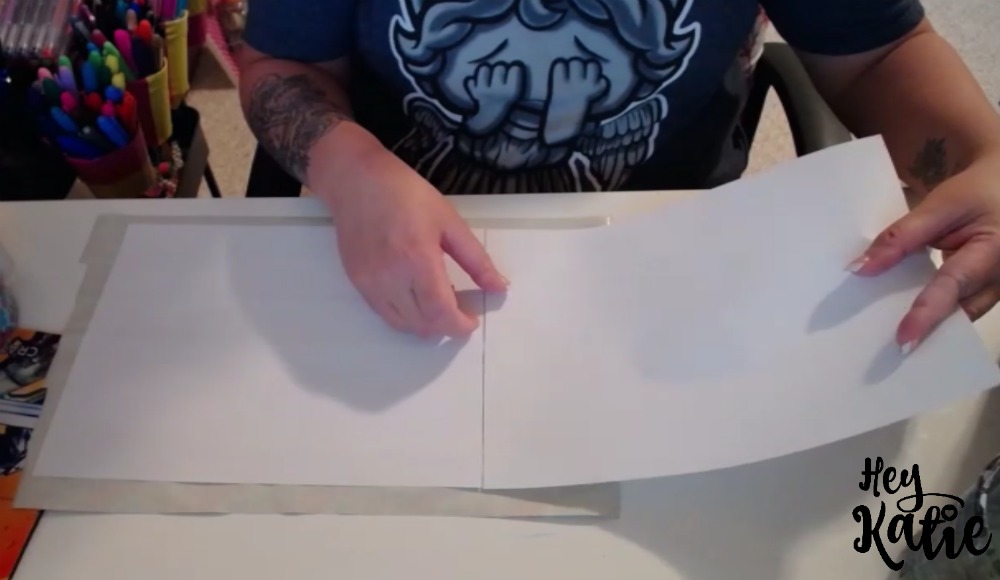
I then used more Duck Tape to cover the entire length of the two sheets of paper, once again matching the pattern.
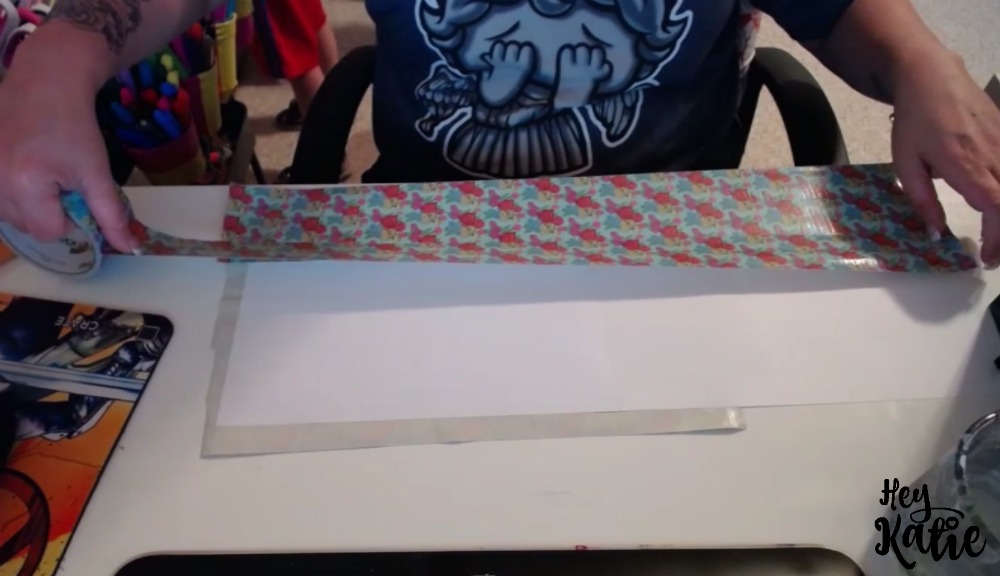
When that was done, I flipped the whole thing over and added the rest of the tape to the first side since there was about 6 inches that had been left uncovered originally. Tip: I learned it was probably best to have just done the entire length of the first side all at once rather than doing it this way. I will know better next time.
Once I was done, I carefully trimmed all the excess sticky bits. I wanted to be sure to try and keep the whole thing as square as possible, so I nipped off the ends neatly.

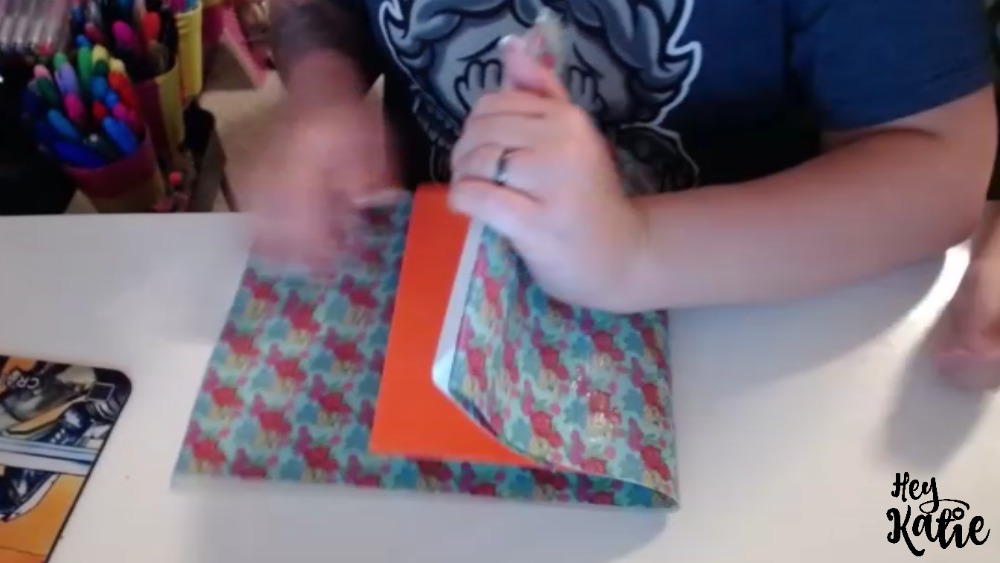
Next, I grabbed the notebook and set it down in the middle of the fabric.

I wanted to make sure I had enough to cover the notebook thoroughly. To my surprise, I had an extra three quarters of an inch! I folded the fabric carefully over the book, so that I could find the center. I matched the ends to one another to be sure.

Then, I folded each end inside the cover of the notebook.

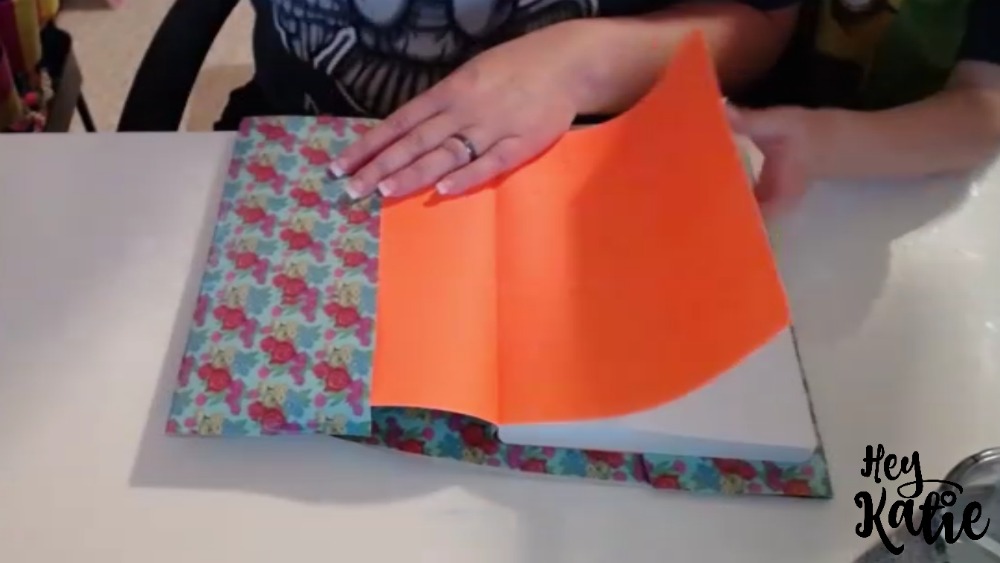
Once I had my final folds, I smoothed them out so I could keep the creases. I then used scissors to carefully snip off the excess fabric at the top of the notebook.

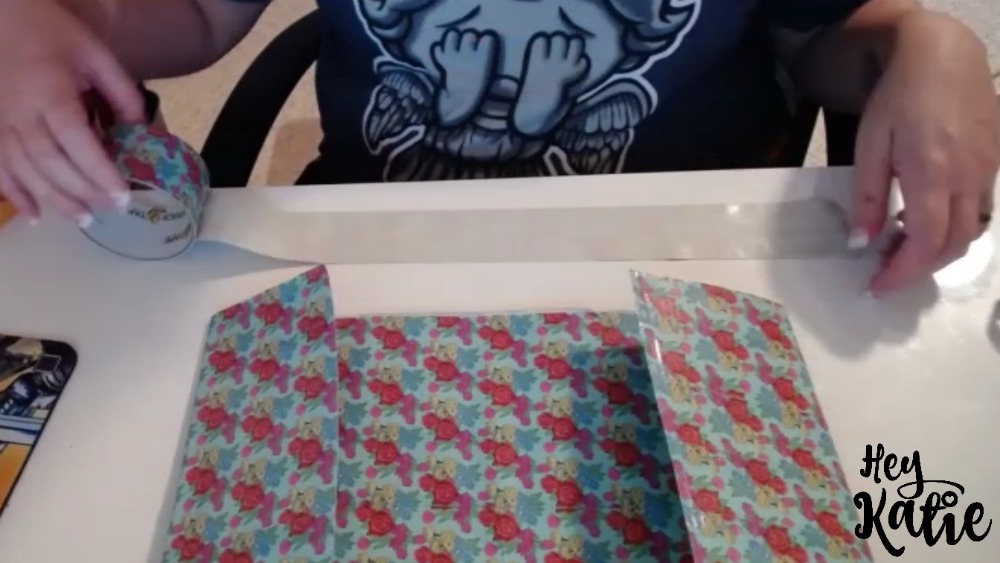
Finally, I removed the notebook from the cover and used two long pieces of Duck Tape along the top and bottom to close up the cover so that it created pockets. It also worked to finish the edges nicely.
Then, I simply slipped the notebook right into each pocket and voila! A perfectly cute notebook cover!

You’ll notice the one mistake I made that really irked me – Since I had done the first side of fabric in two installments, I had some ragged edges of tape showing. I had MEANT to use that as the INSIDE of the notebook. The folded pockets would have completely hidden it. But I wasn’t thinking, and I did it the wrong way. To be honest, it’s not very noticeable unless you are really close to it. So it’s not a big deal. But it is frustrating nevertheless.

At the end of the day, I’m SUPER happy with how this turned out. The inside pockets are great for storing stickers, labels or post it notes. I even jazzed it up by adding a couple of chalkboard stickers onto the front and inside cover. Cute, right?? And now I am super happy with how my new Nuuna looks! I can’t wait to start using it!


This looks great! 🙂 I like the pattern on your duck tape.